Hello there
Feel free to fork and star, open issues if there are typos or you have a doubt.
I decided to make this post because as a newbie I never found out how to make a Discord bot easily. It was a lot of trial and error.
The prerequisites
- Basic Python knowledge
- Know how APIs work
- Must have a Discord and a Discord Developer account.
Let's dive right into it!
We'll first be making our Discord API ready.
Discord and it's API
Here we'll be configuring the bot user and the Discord API.
To get started head to the Discord developer portal.

Should look something like this.
Next up, head to the applications section in the menu at the left.

This is where we'll be making our new application.
The application dashboard should look something like this.

Click on the New Application Button as highlighted.
This leads to a dialogue box being opened which looks something like this:

After this the Application Dashboard will now redirect to a page which looks like this:

After that is done, head towards the Bot option under the menu in the left

Click on the Add Bot option as highlighted.
A dialogue box appears prompting you to add a bot.

This leads you to the Bot page,

Here you can add a cool pfp for your bot!
Here you'll notice something called, a "Token", do not share this with anyone, it can be misused. This Token is something like the API key.
We will need this as we're about to start coding!
The actual code
Our Directory should look something like this:

Now lemme explain what the env file is, it is usually used to store environment variables. Here we'll be using it to store Discord API "Token". Here's how you must fill an env file, first in notepad, write the following:

Now save this file as an env file by changing it's extension and you're good to go.
Bot scope
Here we'll be dealing with what we want our bot to do, that is moderation in this case. A simple Ban command, Kick command, Fetch user avatar command should be good enough for this tutorial.
The Discord API has 2 user classes:
- The bot class
- The client class
Note that the bot class is more versatile than the client class and we'll be using bot class in this tutorial here. Since we're coding a bot, it should run on multiple instances, for example if the bot is in multiple servers, it should be able to handle multiple commands at the same time. For this we use something known as asynchronous programming and we'll be skimming through the basics here.
Imports
Before starting here are a few imports you should make, assuming you have already pip installed the discord module. also install the asyncio module.
import os
from discord.ext import commands
import discord
from dotenv import load_dotenv
from discord import Member
from discord.ext import commands
from discord.ext.commands import has_permissions, MissingPermissions
import random
import asyncio
These should be enough for what we'll be doing
The .ENV invoker
load_dotenv('DISCORD_TOKEN.env')#loads client secret from the .env file in the same directory
TOKEN = os.getenv('DISCORD_TOKEN')
bot = commands.Bot(command_prefix='^') #change it to whatever you want
bot.remove_command("help")
This code snippet basically loads the Token that we had saved earlier in our .env file into the code so that it can be used to connect to the API.
Adding functions
@bot.command()
@commands.has_permissions(ban_members=True)#bans members if admin role is true
async def ban(ctx, user: discord.Member, *, reason="No reason provided"):
        await user.ban(reason=reason)
        ban = discord.Embed(title=f":boom: Banned {user.name}!", description=f"Reason: {reason}\nBy: {ctx.author.mention}",color=0xB026FF)
        await ctx.message.delete()
        await ctx.channel.send(embed=ban)
        await user.send(embed=ban)
The first line @bot.command() here invokes the bot class. The second line checks if the person using the command has the required permission or not. The third line is where we define our function and it's arguments. It takes members and a reason as arguments, where reason for banning is optional. The fourth line onwards it simply builds an embed, an embed here has many features, it is out of scope of this tutorial though.
Upon executing this command the person mentioned is banned if they have the ban perms or the admin perms.
Next up the kick command:
@bot.command()
@commands.has_permissions(kick_members=True)
async def kick(ctx, user: discord.Member, *, reason="No reason provided"):
        await user.kick(reason=reason)
        ban = discord.Embed(title=f":boot: Kicked {user.name}!", description=f"Reason: {reason}\nBy: {ctx.author.mention}",color=0xB026FF)
        await ctx.message.delete()
        await ctx.channel.send(embed=ban)
        await user.send(embed=ban)
The explanation is the same as the ban command except this time the bot simply kicks the mentioned user.
Finally the avatar command:
@bot.command()## get mentioned users avatar
async def av(ctx, *,  avamember : discord.Member=None):
    userAvatarUrl = avamember.avatar_url
    await ctx.send(userAvatarUrl)
The first line again invokes the bot class The second one is where the function is defined, it takes username as the argument. The bot then displays the mentioned users avatar url.
We'll also be adding a very simple help command:
@bot.command()##help command
async def help(ctx):
    em = discord.Embed(title="Tutorial Bot command list:", description="", color=0x2f3136)
    em.add_field(name="`^ban {user}`", value="Bans the user.")
    em.add_field(name="`^kick {user}`", value="Kicks user.")
    em.add_field(name="`^av {user}`", value="Gets the mentioned users pfp.")

    em.set_footer(text="GitHub Discord bot made by cyber")
    await ctx.send(embed=em)
Final code snippet, this helps us know when the bot is online.
@bot.event
async def on_ready():
    activity = discord.Game(name="A game", type=3) #you can change from playing to watching, etc
    await bot.change_presence(status=discord.Status.online, activity=activity)
    print("Bot is ready!")
It also helps us set the bots status.
Ending the script
Finally add this in your code, it runs the Token and helps connect the API to your code.
bot.run(TOKEN)
Now let's invite this to a server!
Head to the Developer Portal again, Go to the OAuth2 dashboard. Scroll down and you'll find scopes section, click on the bot scope.
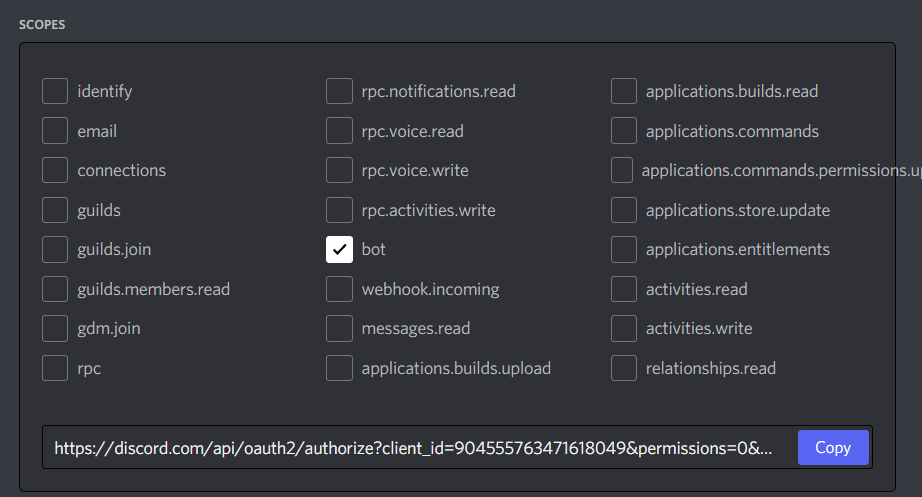
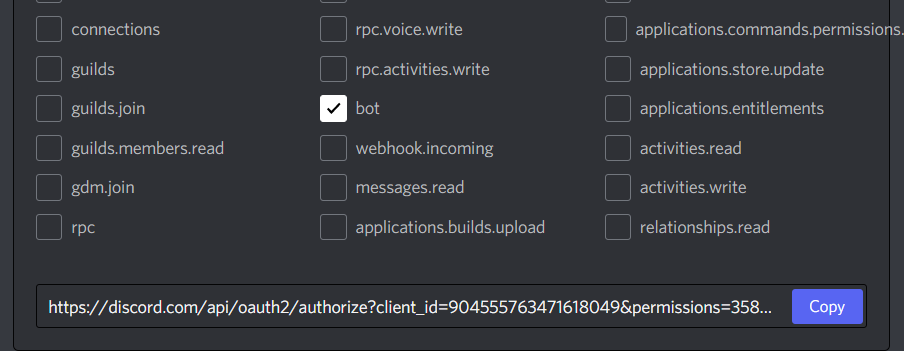
Scroll down and you'll find a Permission checker for the Bot. Since these are the Perms needed by my bot I will be checking those off.

Now copy the Link provided, this is your bots invite link!
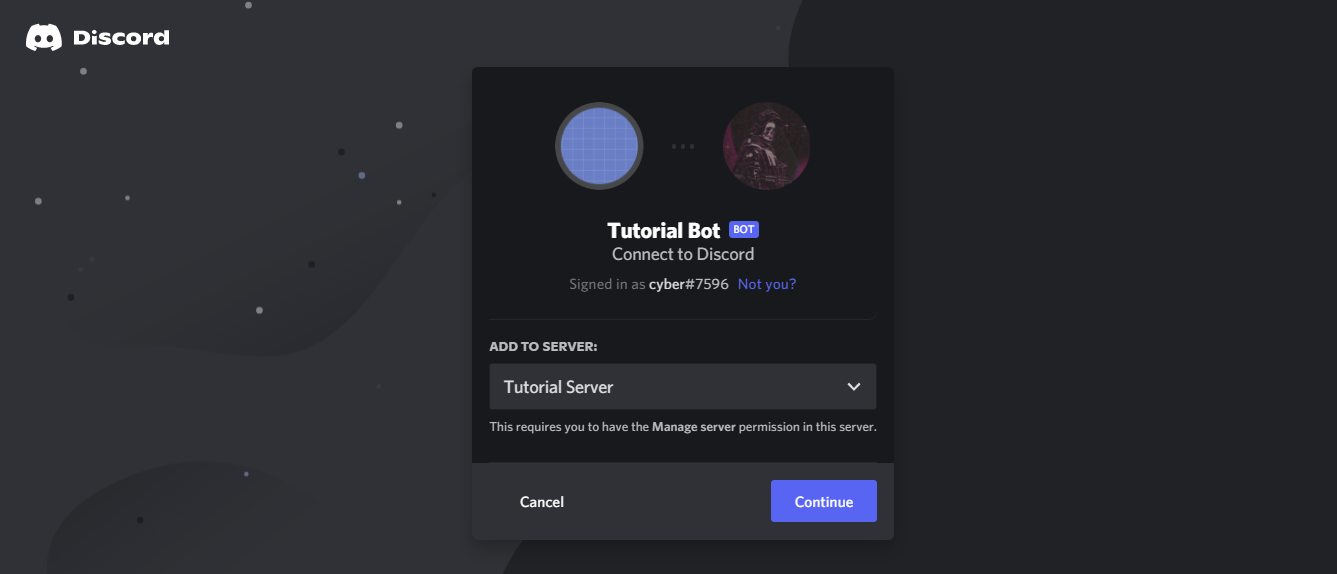
Paste it in your browser and you will be redirected to the Invite page.
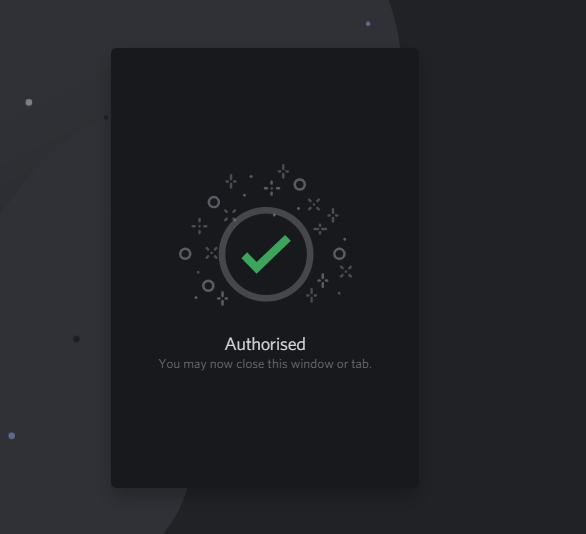
It should lead you to this page once authorised.
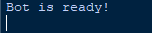
Now let's test it out in our server! First run the script and this should appear in the shell.
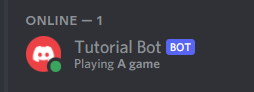
In the server the bot should appear online.
Now let's test all the features:
- Ban
- Kick
- User avatar
- Help command
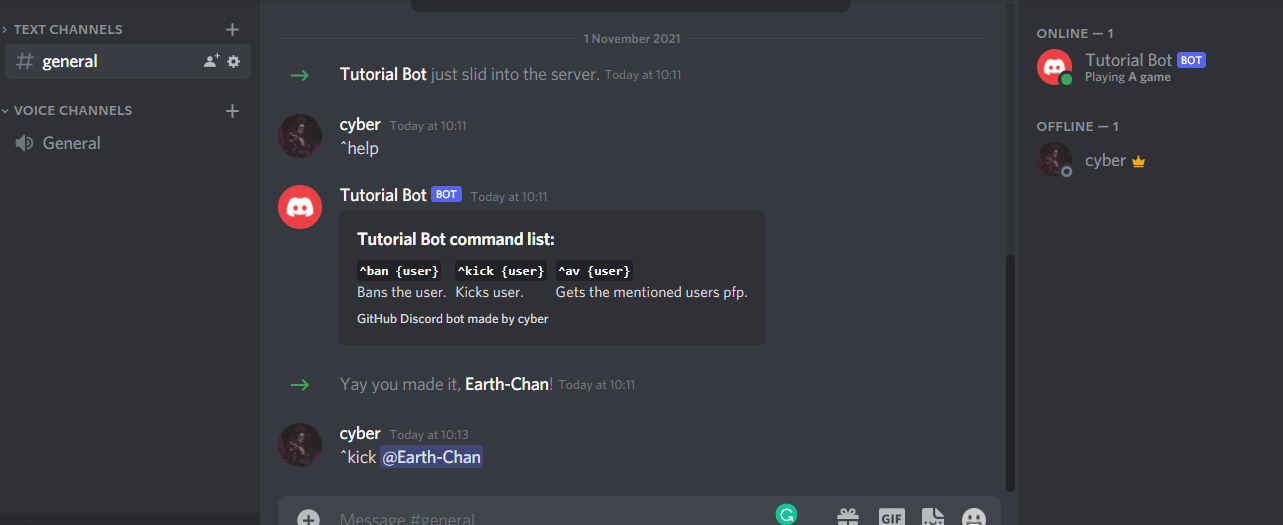
Test case-1: Show help command
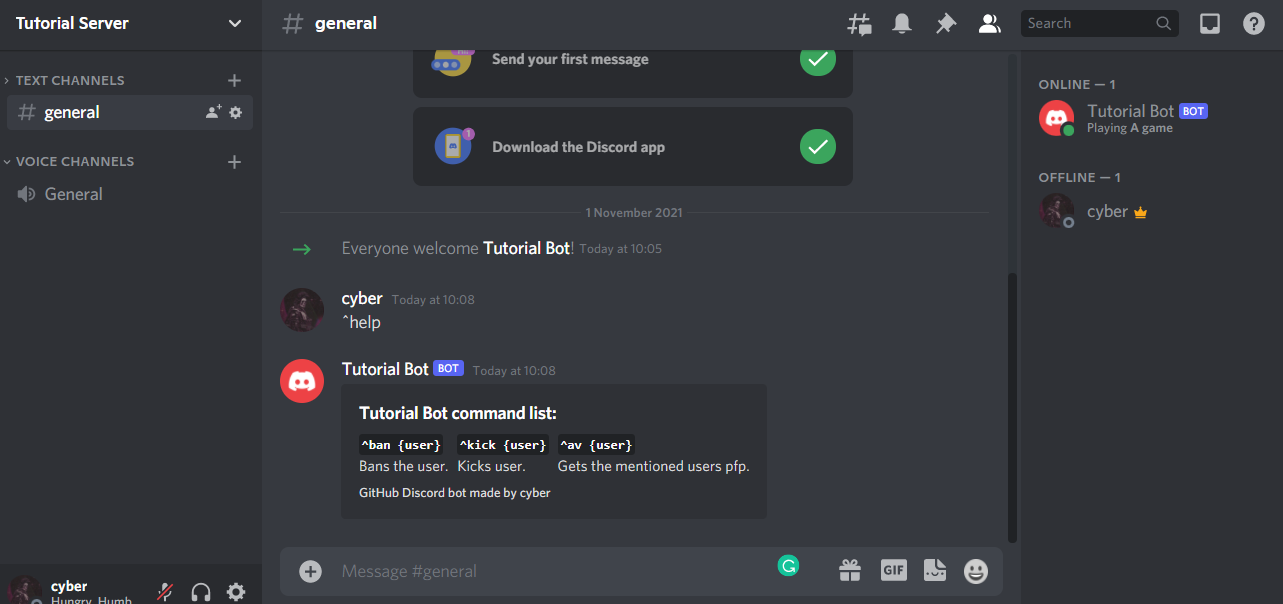
Result: Passed
Test case-2: Kick user
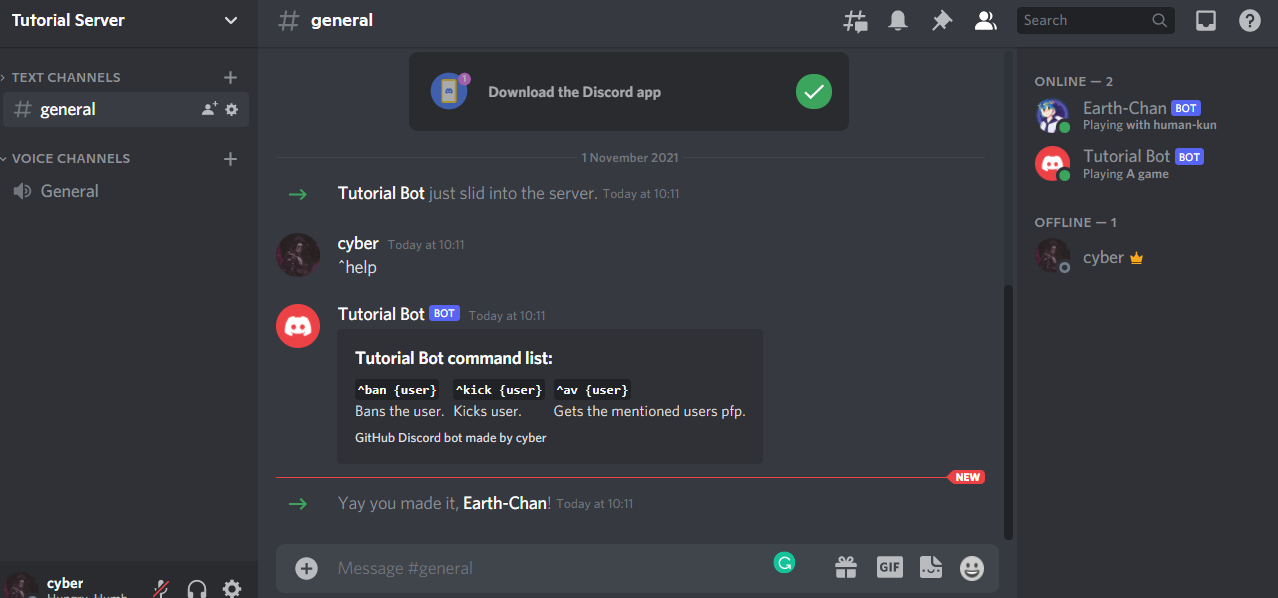
This is the other user named Earth Chan, we are going to try and kick it.
The user is now kicked. Result: Passed
Test case-3: Ban user We are going to invite the same user and try banning them.
The user has been banned.
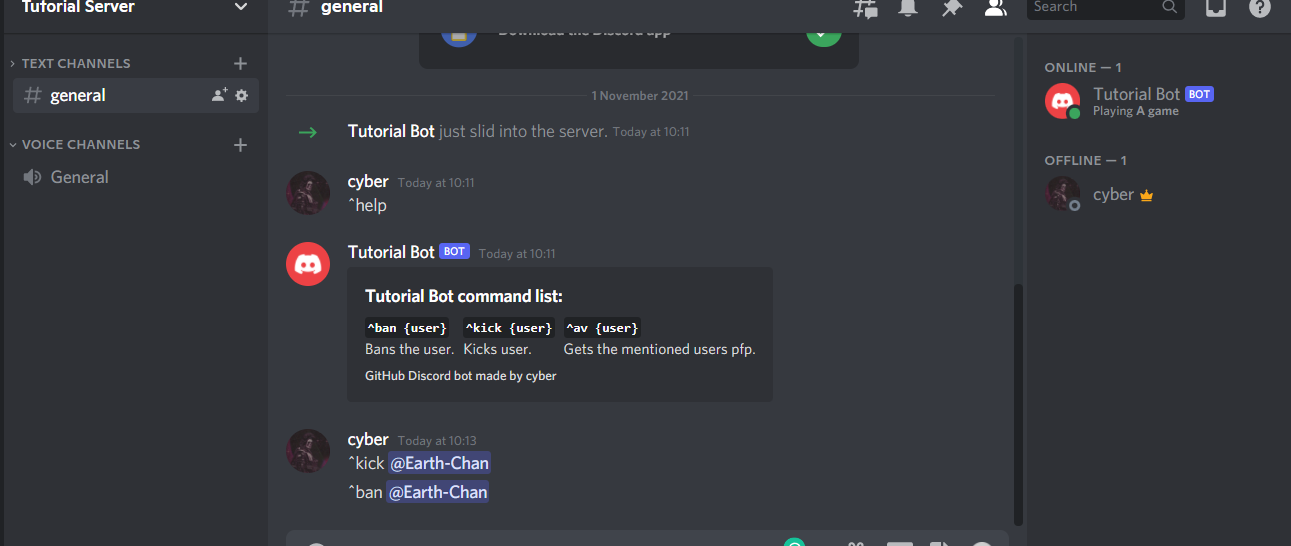
Result: Passed
Test case-4: Get user avatar
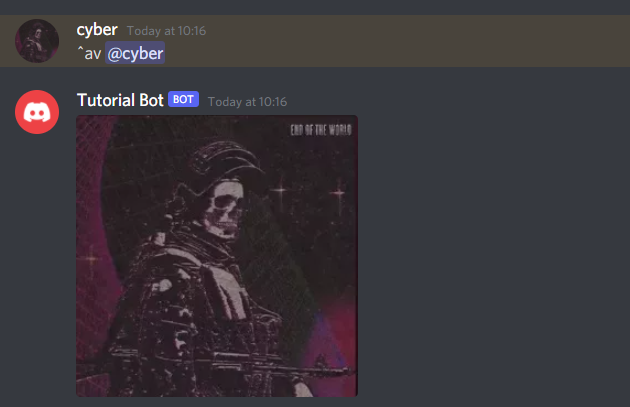
Result: Passed
Our bot has passed all the test cases! You can add tons of other features to it and make it more versatile. The possibilities are endless.
Bot hosting
You might observe that the bot goes offline once the script stops running, to combat this problem we use hosting solutions like repl.it or Cloud Services, I personally use a Raspberry Pi to host my bots.
Hosting won't be covered in this tutorial, there are tons of YouTube tutorials on them.
What next?
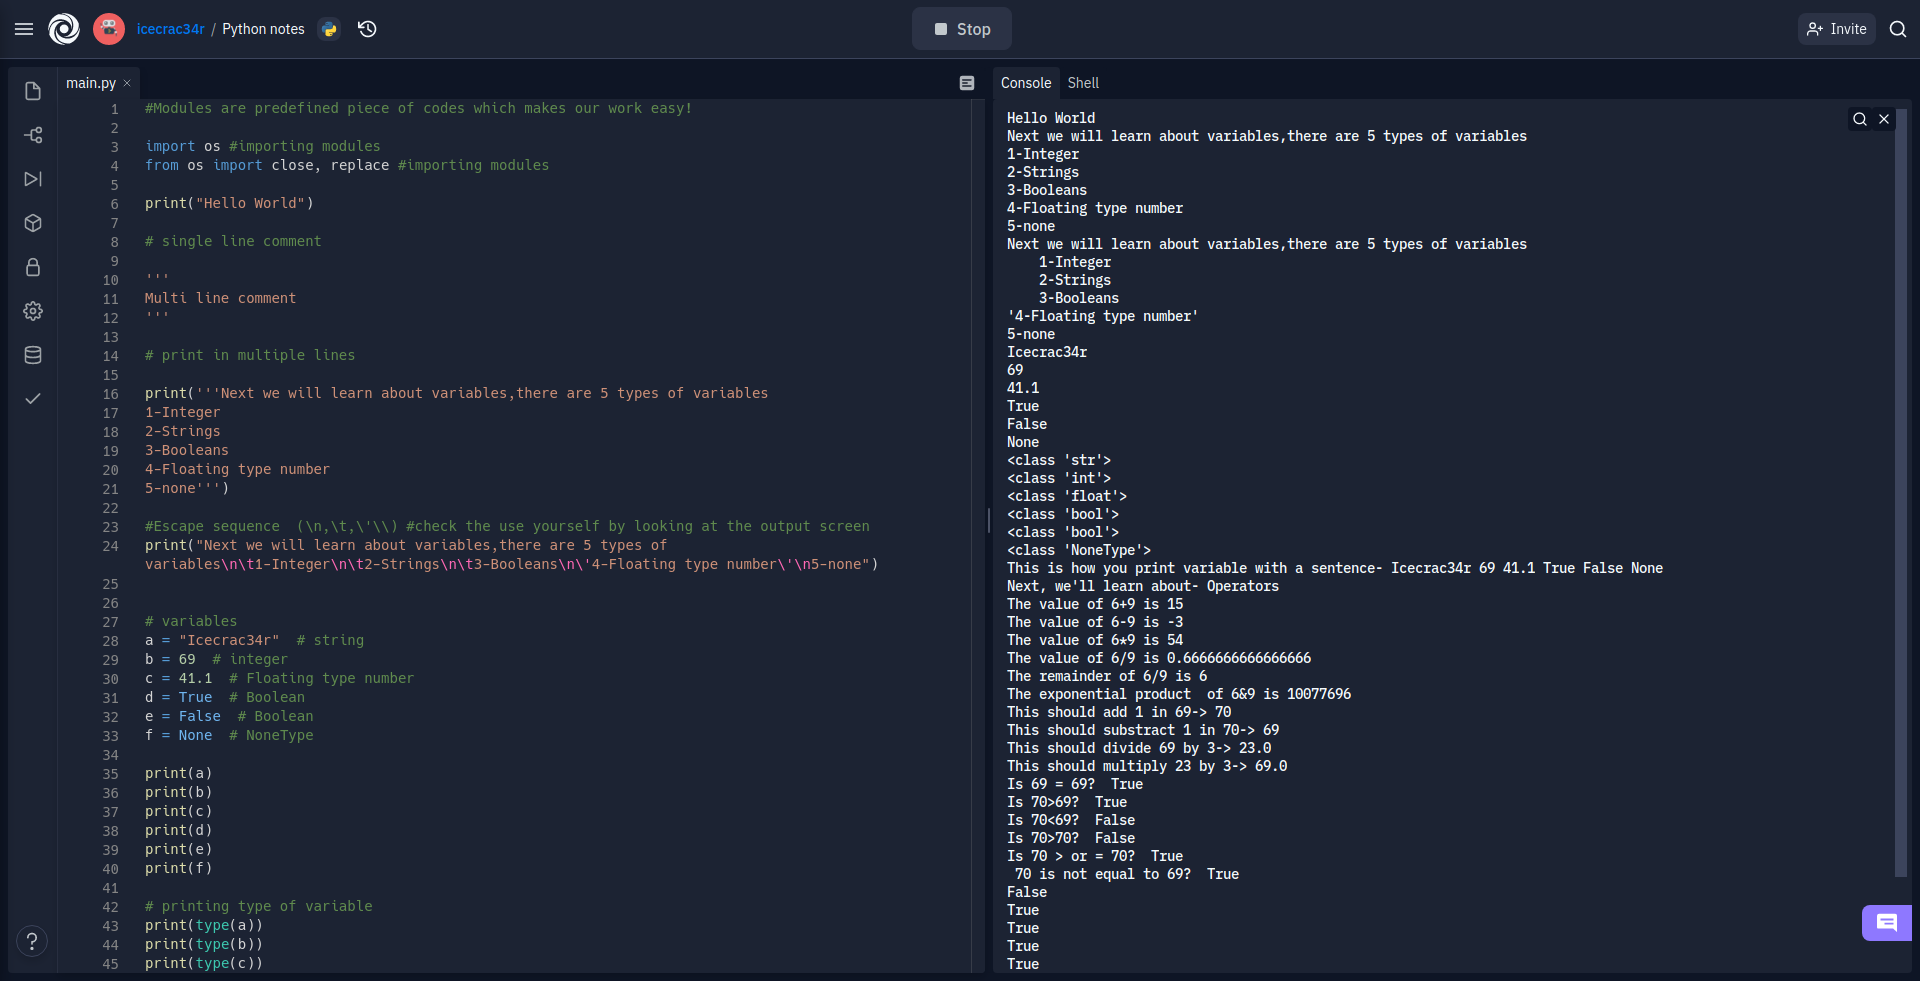
Well you can build whole economies, moderation bots, music bots, image manipulation, memes from reddit using the reddit API and so much more, here is an example of what I did.
The Discord API also exists in JavaScript, Java, Typescript and Ruby.
Final code
Your code must look something like this:
import os
from discord.ext import commands
import discord
from dotenv import load_dotenv
from discord import Member
from discord.ext import commands
from discord.ext.commands import has_permissions, MissingPermissions
import random
import asyncio

load_dotenv('DISCORD_TOKEN.env')#loads client secret from the .env file in the same directory
TOKEN = os.getenv('DISCORD_TOKEN')
bot = commands.Bot(command_prefix='^') #change it to whatever you want
bot.remove_command("help")

@bot.event
async def on_ready():
    activity = discord.Game(name="A game", type=3) #you can change from playing to watching, etc
    await bot.change_presence(status=discord.Status.online, activity=activity)
    print("Bot is ready!")

@bot.command()
@commands.has_permissions(ban_members=True)#bans members if admin role is true
async def ban(ctx, user: discord.Member, *, reason="No reason provided"):
        await user.ban(reason=reason)
        ban = discord.Embed(title=f":boom: Banned {user.name}!", description=f"Reason: {reason}\nBy: {ctx.author.mention}",color=0xB026FF)
        await ctx.message.delete()
        await ctx.channel.send(embed=ban)
        await user.send(embed=ban)

@bot.command()
@commands.has_permissions(kick_members=True)
async def kick(ctx, user: discord.Member, *, reason="No reason provided"):
        await user.kick(reason=reason)
        ban = discord.Embed(title=f":boot: Kicked {user.name}!", description=f"Reason: {reason}\nBy: {ctx.author.mention}",color=0xB026FF)
        await ctx.message.delete()
        await ctx.channel.send(embed=ban)
        await user.send(embed=ban)

@bot.command()## get mentioned users avatar
async def av(ctx, *,  avamember : discord.Member=None):
    userAvatarUrl = avamember.avatar_url
    await ctx.send(userAvatarUrl)

@bot.command()##help command
async def help(ctx):
    em = discord.Embed(title="Tutorial Bot command list:", description="", color=0x2f3136)
    em.add_field(name="`^ban {user}`", value="Bans the user.")
    em.add_field(name="`^kick {user}`", value="Kicks user.")
    em.add_field(name="`^av {user}`", value="Gets the mentioned users pfp.")

    em.set_footer(text="GitHub Discord bot made by cyber")
    await ctx.send(embed=em)

bot.run(TOKEN)
Happy Coding! And if any doubts please do leave it in the comments or contact me on Discord (cyber#7596), you can also follow my Twitter @thereal_cyber
 1 Jan 22, 2022
 1 Dec 19, 2021
 2 May 12, 2022
 5 Oct 6, 2022
 11 Dec 19, 2022
 249 Dec 22, 2022
 7 Dec 27, 2022

 2 Oct 27, 2022

 48 Dec 21, 2022

 9 Oct 12, 2022
 266 Dec 13, 2022
 8 Nov 07, 2022
 320 Jan 02, 2023
 6 Aug 31, 2022
 584 Nov 16, 2022
 1 Jan 19, 2022
 5.1k Jan 02, 2023
 22.1k Jan 03, 2023
 440 Jan 06, 2023
 9.5k Dec 30, 2022
 1 Jun 18, 2022
 9 Nov 04, 2022
 11 Mar 22, 2022
 263 Dec 23, 2022
 7 Sep 19, 2022
 106 Jan 05, 2023
 44 Dec 18, 2022