NonMouse


日本語のREADMEはこちら
This is an application that allows you to use your hand itself as a mouse.
The program uses a web camera to recognize your hand and control the mouse cursor.
The video is available on Youtube

Feature
- Entirely new mouse: a mouse with a software approach. It recognizes your hand and works as a mouse.
- NonMouse can be invoked by the global hotkey even when this application is inactive.
- Works well with typing
- You can make it look like a touch display, by pointing the web camera at the display.
- You can use the mouse wherever you want.
- Just download from the latest release (windows, mac only)
Installation
📁
Run as executable file
Download the zip file that matches your environment from the latest release.
OR
🐍
Run as python
Run the following script.
$ git clone https://github.com/takeyamayuki/NonMouse
$ cd NonMouse
$ pip install -r requirements.txt
If you have trouble installing mediapipe, please visit the official website.
† For mac, you need to add the location where you want to run it, such as Terminal or VScode, to the Security and Privacy Accessibility and Cammera section in System Preferences.
Usage
1. Install a camera
The following three ways of placing the device are assumed.
-
Normal: Place a webcam normally and point it at yourself (or use your laptop's built-in camera)Examples of installation methods Point the palm of your hand at the camera 

-
Above: Place it above your hand and point it towards your hand.An example of installation methods Point the back of your hand at the camera. 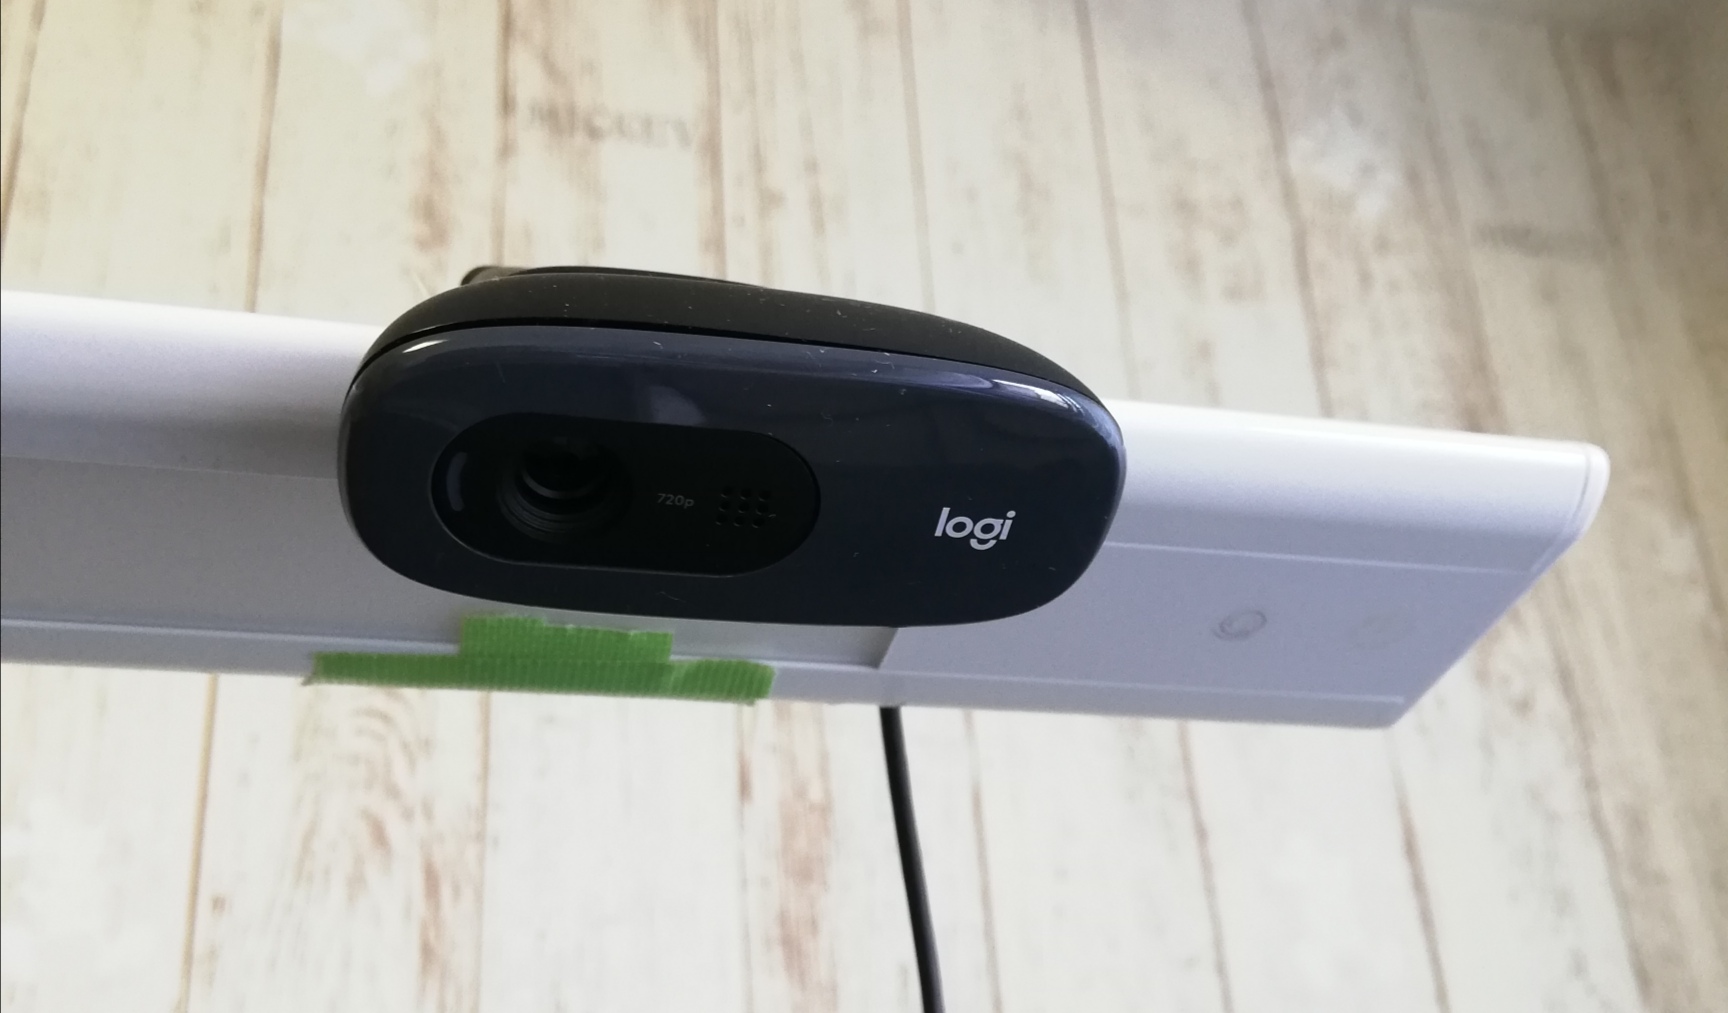
-
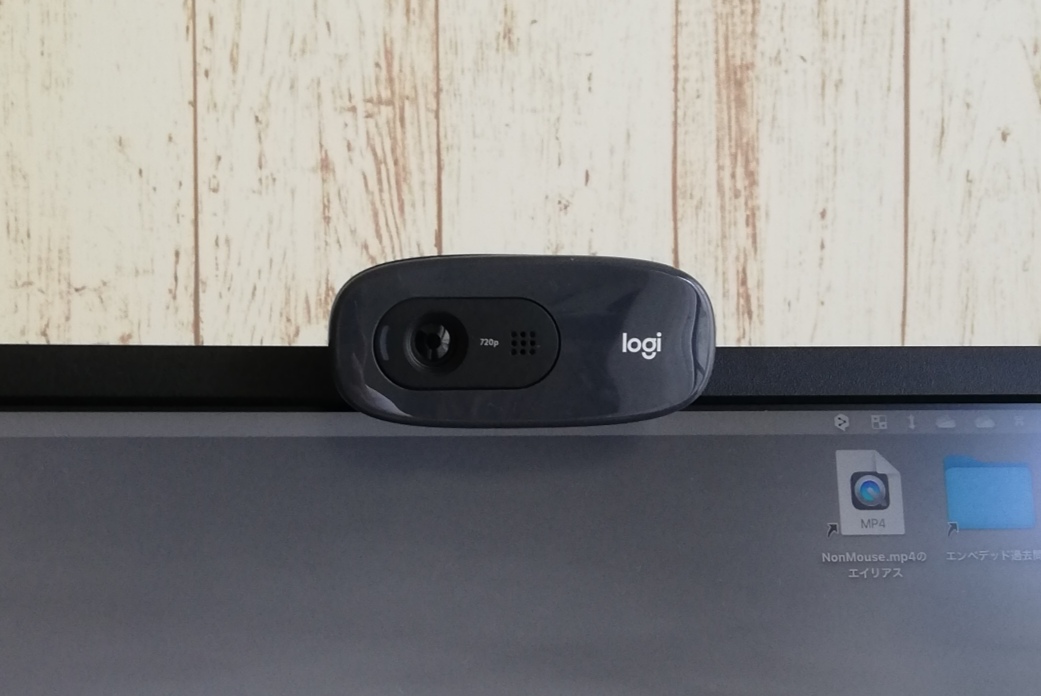
Behind: Place it behind you and point it at the display.An example of installation methods Point the back of your hand at the camera. 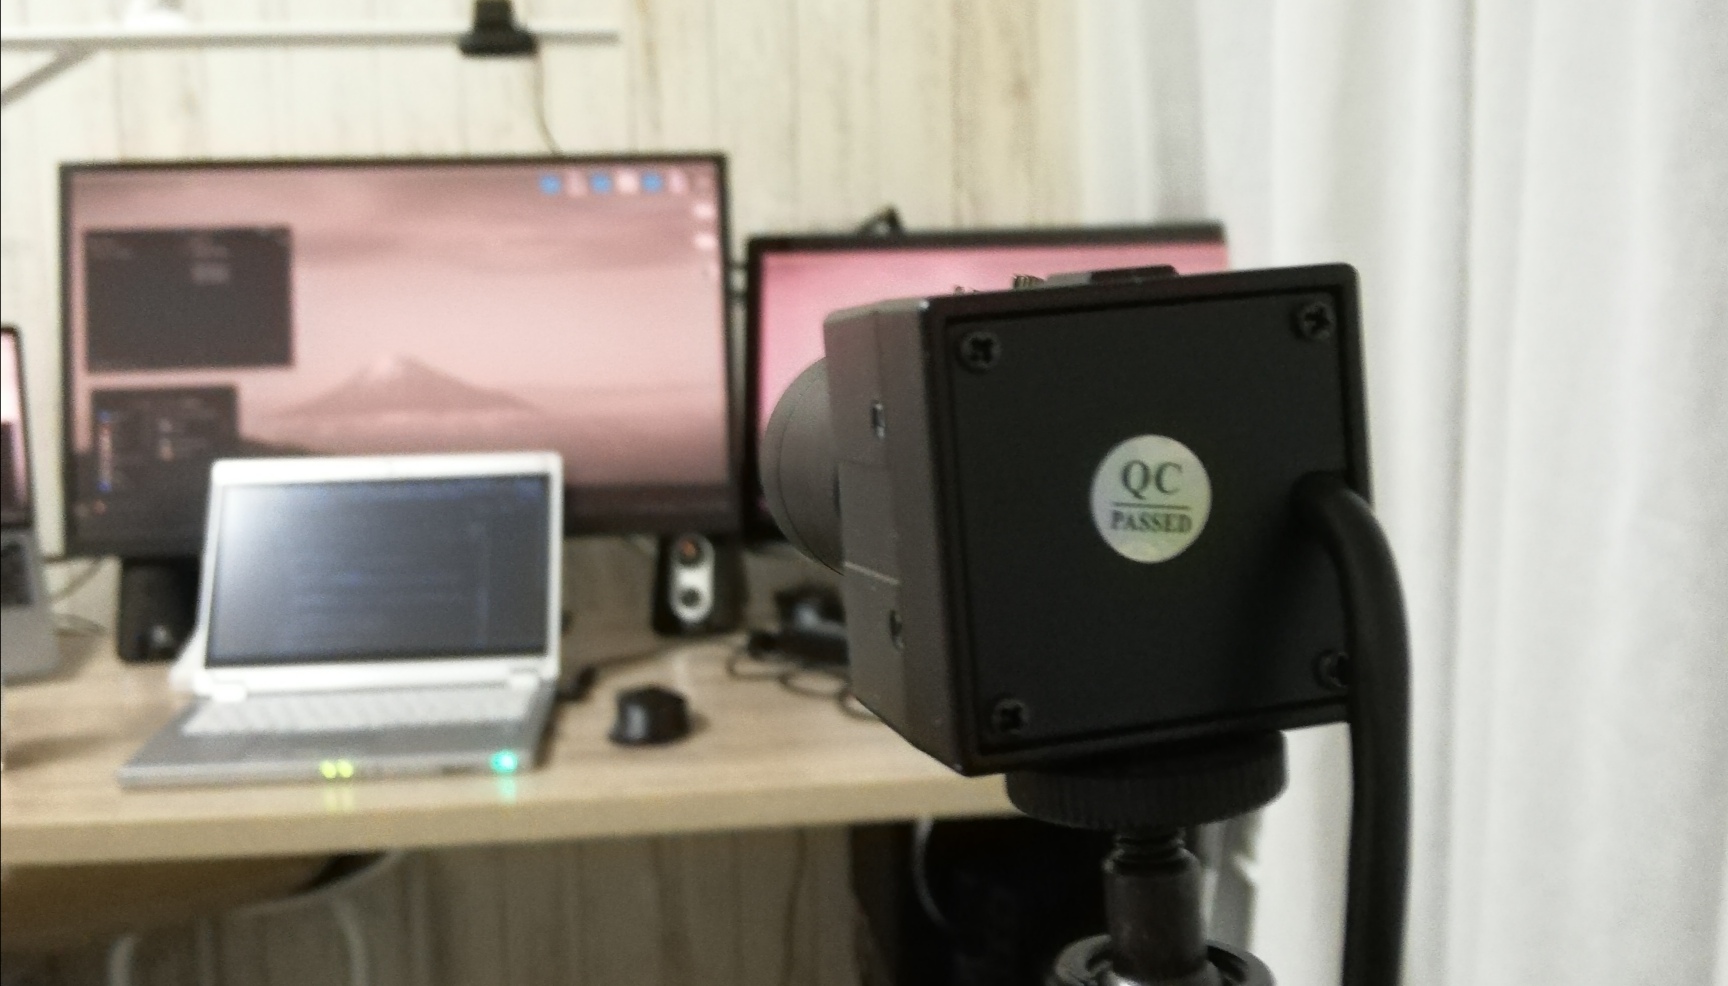

2. Run
-
Run the executable as described in the GitHub wiki.
OR
-
Run the following script from the continuation of the installation.
For windows, linux(global hotkey function does not work in linux.)
$ python3 app.py
For MacOS, you need execute permission.
$ sudo python3 app.py
3. Settings
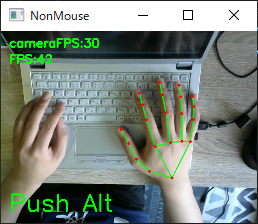
When you run the program, You will see a screen similar to the following. On this screen, you can set the camera and sensitivity.

-
Camera
Select a camera device. If multiple cameras are connected, try them in order, starting with the smallest number. -
How to place
Select the location where you placed the camera. Place the camera in one of the following positions:Normal,Above,Behindin [📷 Install a Camera]. -
Sensitivity
Set the sensitivity. If set too high, the mouse cursor will shake slightly.
When you are done with the settings, click continue. The camera image will then be displayed, and you can use NonMouse with the settings you selected.
4. Hand Movements
| stop cursor | left click | right click | scroll |
|---|---|---|---|
 |
 |
 |
 |
The following hand movements are enabled only when you hold down Alt(Windows), Command(MacOS). You can define your own global hotkeys by rewriting here. You can use this function even if the window is not active.This feature is only available on windows and mac.
- cursor
- Mouse cursor: tip of index finger → A blue circle will appear at the tip of your index finger.
- Stop mouse cursor: Attach the tip of your index finger to the tip of your middle finger. → The blue circle disappears.
- left click
- Left click: Attach the fingertips of your thumb to the second joint of your index finger → A yellow circle will appear on the tip of your index finger.
- Left click release: Release the thumb fingertip and the second joint of the index finger. → The yellow circle disappears.
- Double click: Left click twice within 0.5 seconds.
- other
- Right click: Hold the click state for 1.5 second without moving the cursor. → A red circle will appear at the tip of your index finger.
- Scroll: Scroll with the index finger with the index finger folded → a black circle will appear.
† Use it with a bright light at hand.
† Keep your hand as straight as possible to the camera.
5. Quit
Press Ctrl+C, when a terminal window is active.
Press close button(Valid only on windows, linux) or Esc key, when an application window is active.
Build
† The built binary files can be downloaded from latest realease.
In app-mac.spec and app-win.spec, change pathex to fit your environment.
Run the following scripts for each OS.
-
windows
Copy and paste the location obtained by
pip show mediapipeintodatas, referring to what is written originally.
Run the following script.$ pip show mediapipe ... Location: c:\users\namik\appdata\local\programs\python\python37\lib\site_packages ... #Copy and paste into the datas in app-win.spec $ pyinstaller app-win.spec ... ````
-
mac
Create a venv environment and perform
pip install, because the directory specified indatasis for an assumed venv environment.$ python3 -m venv venv $ . venv/bin/activate (venv)$ pip install -r requirements.txt (venv)$ pyinstaller app-mac.spec


 1.1k Jan 07, 2023
 42 Jan 01, 2023
 199 Nov 29, 2022
 82 May 27, 2022
 165 Oct 25, 2022
 5k Jan 05, 2023
 7 Sep 14, 2022
 4 Apr 03, 2022
 85 Oct 13, 2022
 116 Dec 23, 2022
 2 Nov 23, 2019
 169 Dec 20, 2022
 391 Dec 27, 2022
 213 Jan 02, 2023
 94 Dec 18, 2022
 666 Jan 06, 2023
 9 Oct 11, 2022
 147 Aug 02, 2022
 195 Dec 07, 2022
 32 Oct 10, 2022